


6 Safe Steps to Drill Planter Drainage Holes for UK Gardens
Posted by Amy Hall on 14th Sep 2026
6 Safe Steps to Drill Planter Drainage Holes for UK Gardens
Yes, almost every planter needs a way for excess water to escape. If your pot has no hole, your best options are to drill one (the technique depends on the material) or slot a liner or nursery pot inside it. You’ll find the full drilling steps, material by material, further down this guide.
TL;DR:
- Proper drainage involves drilling or fitting drainage holes suited to the pot material, with ceramic and stone requiring diamond-tipped or masonry bits to avoid cracks.
- Using gravel at the bottom of a pot does not improve drainage; it can create a perching effect, making soil stay wetter near the roots than in a properly drained pot.
- Small pots need a few small drainage holes, while larger or deeper planters benefit from multiple, appropriately sized holes to prevent waterlogging.
- If drilling is unsafe or undesirable, inserting a nursery pot or liner with drainage inside the decorative planter offers an effective, risk-free alternative.
- For non-drilled pots, adding a mesh or terracotta shard over the drainage hole prevents soil loss while maintaining proper water flow.
Table of Contents
- Why drainage holes matter for plant health
- Common misconceptions and quick alternatives when you can’t drill
- How to add drainage holes: step-by-step by material
- Drilling safety: avoiding cracks and finishing the job
- Practical tips from Peter
- Why the standard drainage advice needs an update
- Shop planters and accessories that make drainage simple
- Sources
- FAQ
Why drainage holes matter for plant health
Roots need air just as much as they need water. When a pot has nowhere for excess moisture to go, the soil stays saturated, oxygen can’t reach the root zone, and roots begin to suffocate rather than simply drown. This is the mechanism behind root rot, and it’s why drainage holes are considered essential rather than optional by most horticultural experts. There’s genuinely no reliable substitute for proper drainage if you want a plant to thrive for more than a season; the point of the hole is as much about letting air back in as it is about letting water out.
Watch for these warning signs that your plant is sitting in soil that never dries out:
- Leaves turning yellow or pale, often starting at the base of the plant
- A general loss of vigour, with new growth stalling or wilting despite regular watering
- A sour, boggy smell from the compost
- Roots that feel soft, mushy, or blackened when you check them
There are a handful of exceptions. Bog plants, some carnivorous species, and true aquatics are bred to sit in permanent moisture, so they don’t follow the usual rules. For everything else, from bedding annuals to mature shrubs in large pots, drainage is what keeps the root system alive through a wet British winter.
Common misconceptions and quick alternatives when you can’t drill
The idea that a layer of gravel or broken crocks at the bottom of a pot improves drainage is one of gardening’s most persistent myths. It doesn’t work the way most people assume. Rather than helping water escape, gravel actually creates what horticulturists call a “perching” effect, where the saturated layer of soil sits higher up, closer to the roots, than it would in a pot with a genuine hole. UC Master Gardeners of Santa Clara County confirm that this layering trick simply moves the problem, rather than solving it.
If you’d rather not touch the pot itself, several alternatives work well:
- Slip a plastic nursery pot with drainage inside the decorative planter, then lift it out to water and drain properly.
- Use a fitted pot liner designed for the container’s exact dimensions.
- Raise the inner pot on risers, pot feet, or even upturned bottle caps to stop it sitting in any water that collects below.
Pro Tip: If soil escapes through an existing hole, don’t block it with gravel. A small square of mesh, a coffee filter, or a shard of broken unglazed terracotta laid loosely over the opening keeps compost in while still letting water run freely.
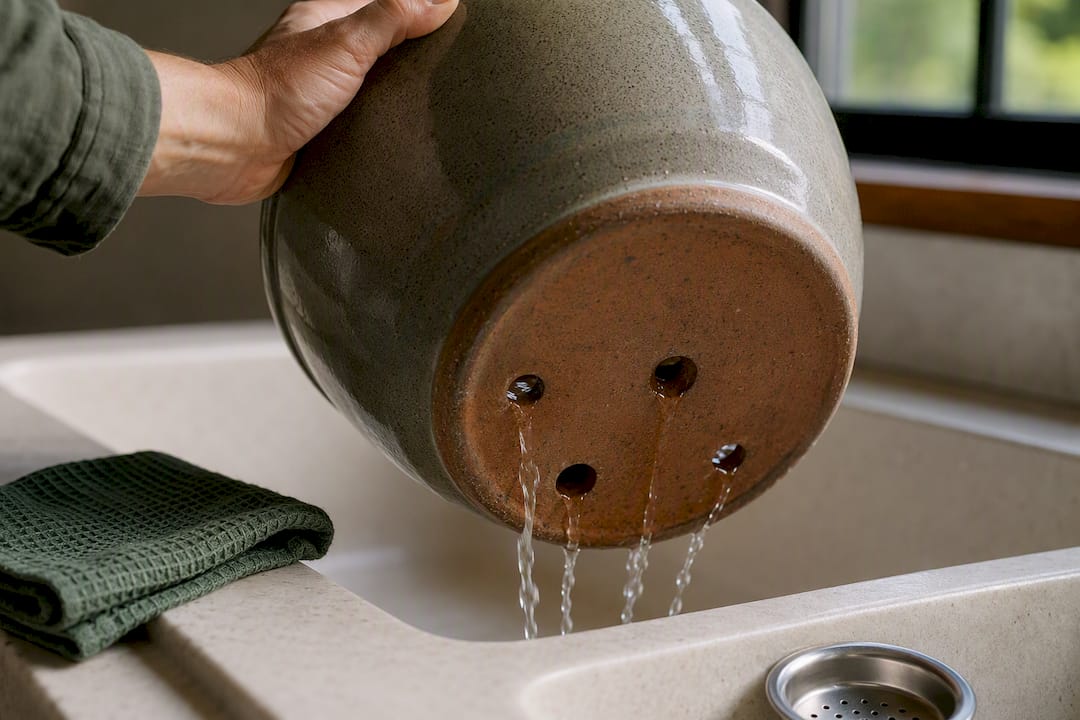
Checking on decorative pots without holes is worth doing regularly. If one has become waterlogged, take it to a sink, water it thoroughly so the excess can work through, then tip it on its side briefly to let trapped water run out before deciding whether it needs a permanent fix.
How to add drainage holes: step-by-step by material
The right drill bit depends entirely on what the pot is made from. Standard high-speed steel (HSS) bits handle plastic and wood without complaint. Glazed ceramic, porcelain, and concrete need something tougher: a diamond-coated or carbide-tipped masonry bit. For unglazed terracotta, Homes and Gardens recommends soaking the pot in water for around 15 minutes before you start, which reduces the risk of the clay cracking under the bit.
How many holes you need, and how wide, scales with the pot’s size. Small pots typically require a few small holes, medium pots need more holes spread across the base, and large or deep planters benefit from multiple holes sized to allow adequate drainage, reflecting the larger volume of compost that holds more water.
Fewer, larger holes may drain faster but can allow more soil loss; more, smaller holes protect compost better but require occasional checking to ensure they remain clear.
Once you’ve picked your bit and marked your spacing, the drilling itself follows a simple sequence:
- Mark your centre points with a pencil or marker, spacing them evenly across the base.
- Create a pilot dimple at each mark, tapping gently with a hammer and centre punch (or the tip of a masonry nail) so the bit doesn’t skate across the surface.
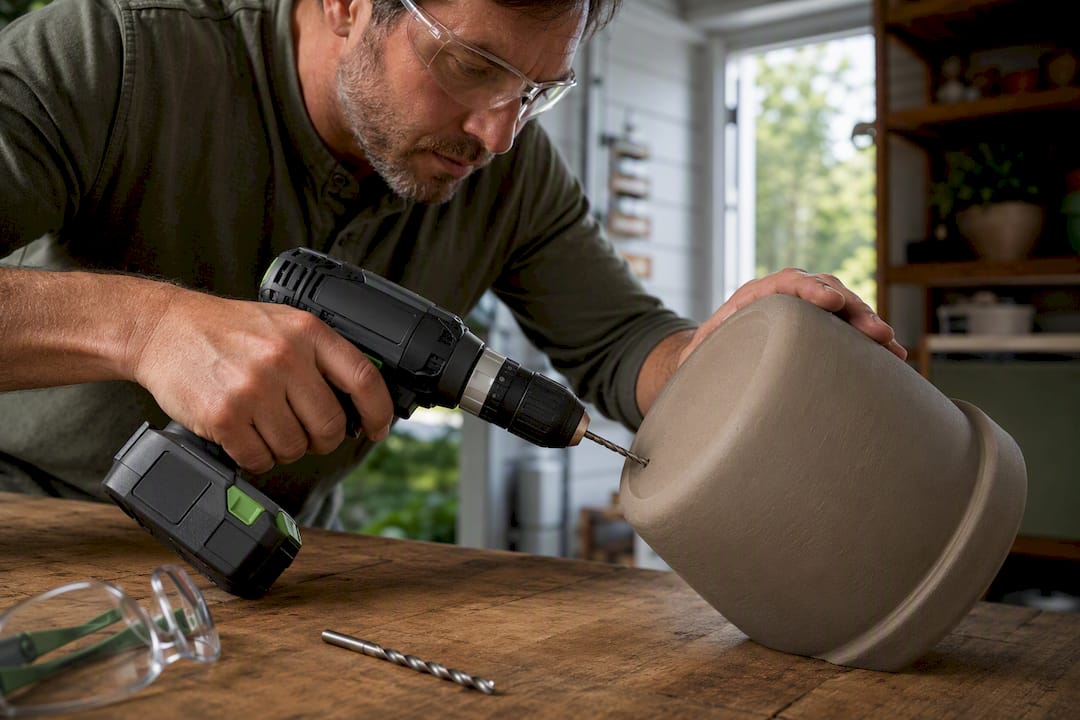
- Drill at low speed with light, steady pressure, letting the bit do the work rather than forcing it.
- Keep the area wet throughout, either with a spray bottle or a shallow tray of water, to stop heat building up in ceramic or stone.
- Support the base on padding, such as a folded towel or offcut of wood, so the pot doesn’t wobble or crack as the bit breaks through.
- Clean up the edges with a damp cloth or a light pass of sandpaper once you’re done.
Thin plastic pots barely need power tools at all. A heated nail pushed through the base works fine, and thicker plastics respond well to an ordinary drill bit. For glazed ceramic in a genuine emergency, some gardeners tap a masonry nail slowly and repeatedly with a hammer to work through a hole, though this carries a real risk of shattering the pot, so treat it as a last resort rather than a first choice.
Drilling safety: avoiding cracks and finishing the job
Heat is the main enemy when you’re working with ceramic, porcelain, or stone. Friction from the bit builds up fast, and that heat is what causes most cracks and clean breaks, not the pressure of drilling itself. Keeping the drill zone genuinely wet solves most of the problem.
A few habits make the difference between a clean hole and a cracked pot:
- Work in short bursts at low speed rather than pushing through in one go.
- Where the pot allows it, drill partway from the inside and finish from the outside to avoid a ragged blowout on the underside.
- Run your finger gently around the finished hole to feel for hairline cracks before you plant anything.
- Smooth rough or sharp edges with a scrap of sandpaper or a small file.
- Wear eye protection and gloves throughout. Ceramic dust and stray chips are unpleasant, and a slipped bit on wet, glazed material can bite harder than you’d expect.
Some professionals go further and dam the area with plumber’s putty filled with water to create a small bath around the drill point, which keeps ceramic consistently cool for the whole job.
Practical tips from Peter
Peter’s advice, learned the hard way over years of trial and error: never rush the pilot hole, and never trust a bargain masonry bit on stoneware. A blunt bit generates more heat, not less, and that’s what cracks pots.
When choosing planters, buyers are generally steered towards materials suited to their space and, where possible, pots that come pre-drilled, as this removes the guesswork entirely. Pairing a planter with a matching saucer or liner also protects patios and windowsills from run-off, without compromising drainage.
Why the standard drainage advice needs an update
Most gardening content treats drainage holes as a box to tick and moves on. That’s the wrong emphasis. The real skill isn’t knowing that holes matter, it’s matching the method to the material in front of you, and most guides skip straight past that part.
The conventional advice on gravel is a good example of where received wisdom falls apart under scrutiny. It’s been repeated for decades, yet the physics simply don’t support it. If you take one thing from this guide, it should be to stop trusting soil-layering tricks and start trusting a hole, a liner, or a riser instead.
If I had to prioritise, I’d tell readers to match their drilling method to their pot material before worrying about hole count. A gorgeous ceramic pot ruined by an overheated bit is a far bigger loss than compost that drains a touch faster than strictly necessary. Buying a planter that’s already drilled correctly for its size sidesteps the entire problem, and for anyone nervous about power tools, that’s often the sensible route.
— Peter
Shop planters and accessories that make drainage simple
If drilling isn’t for you, or you’d rather not risk a favourite pot, some retailers stock planters designed to make drainage a non-issue from the start. Look for ranges with pre-drilled bases in weatherproof materials, along with matching saucers and liners for anyone who wants to keep a decorative outer pot intact while still giving roots somewhere for water to go.
The simplest buying tip is this: if you’re choosing between two otherwise similar pots, pick the one with drainage already built in. It saves you a job, and it means your plants are protected from day one rather than after a retrofit. Browse the full range of planters and garden accessories to find a pre-drilled option, a fitted liner, or a saucer sized to match, and get your pots ready before the next planting session rather than after a soggy surprise.
Sources
For material-specific drilling technique, see Homes and Gardens and Southern Living. For drainage science and the gravel myth, see UC Master Gardeners and University of Illinois Extension.
- How to add drainage holes to planters: expert techniques | Homes and Gardens
- Drainage in Containers | UC Master Gardeners of Santa Clara County
- Fix your houseplants’ drainage problems with these tips | Popular Science
- How to Drill a Drainage Hole in a Ceramic Pot: Tools, Techniques, and Safety
FAQ
Should you put drainage holes in a planter?
Yes, almost all plants do better with a drainage hole, since it lets excess water escape and allows air back into the root zone, preventing root rot.
How do I add drainage holes to my planters?
Mark the centre points, make a pilot dimple, then drill at low speed using an HSS bit for plastic or wood and a masonry bit for ceramic or stone, keeping the area cool with water throughout.
What can I use in the bottom of a planter for drainage?
Skip the traditional gravel layer, since it creates a perching effect that keeps soil wetter near the roots; a loose piece of mesh or a shard of terracotta over the hole is enough to stop compost washing out.
How big should drain holes be in a planter?
Small pots typically require a few small holes, medium pots need more holes spread across the base, and large or deep planters benefit from multiple holes sized to allow adequate drainage, reflecting the larger volume of compost that holds more water.
Do planters without drainage holes need a liner instead?
Yes, if you don’t want to drill a decorative pot, fitting a nursery pot or liner inside it and lifting it out to water works as a reliable alternative.
